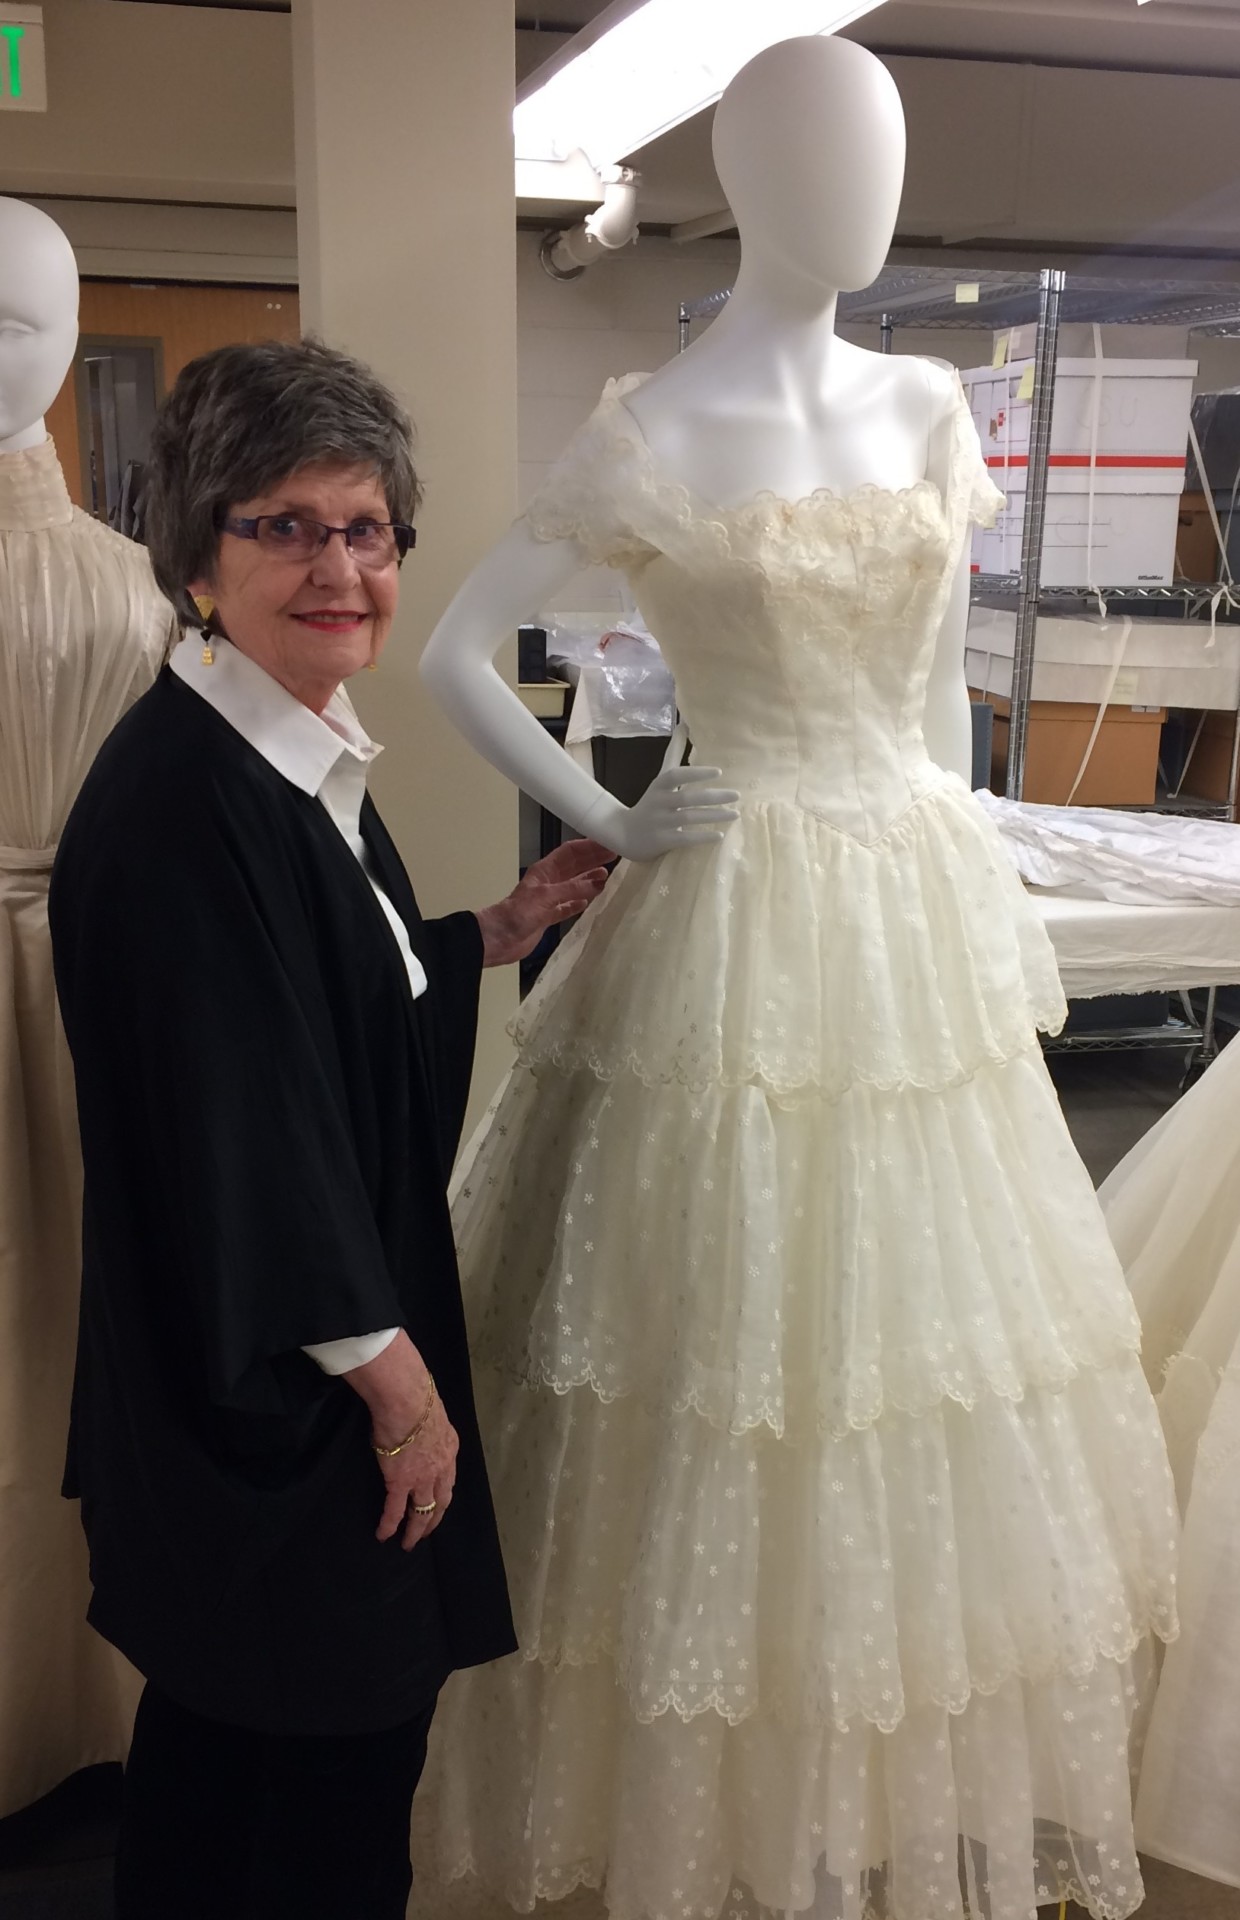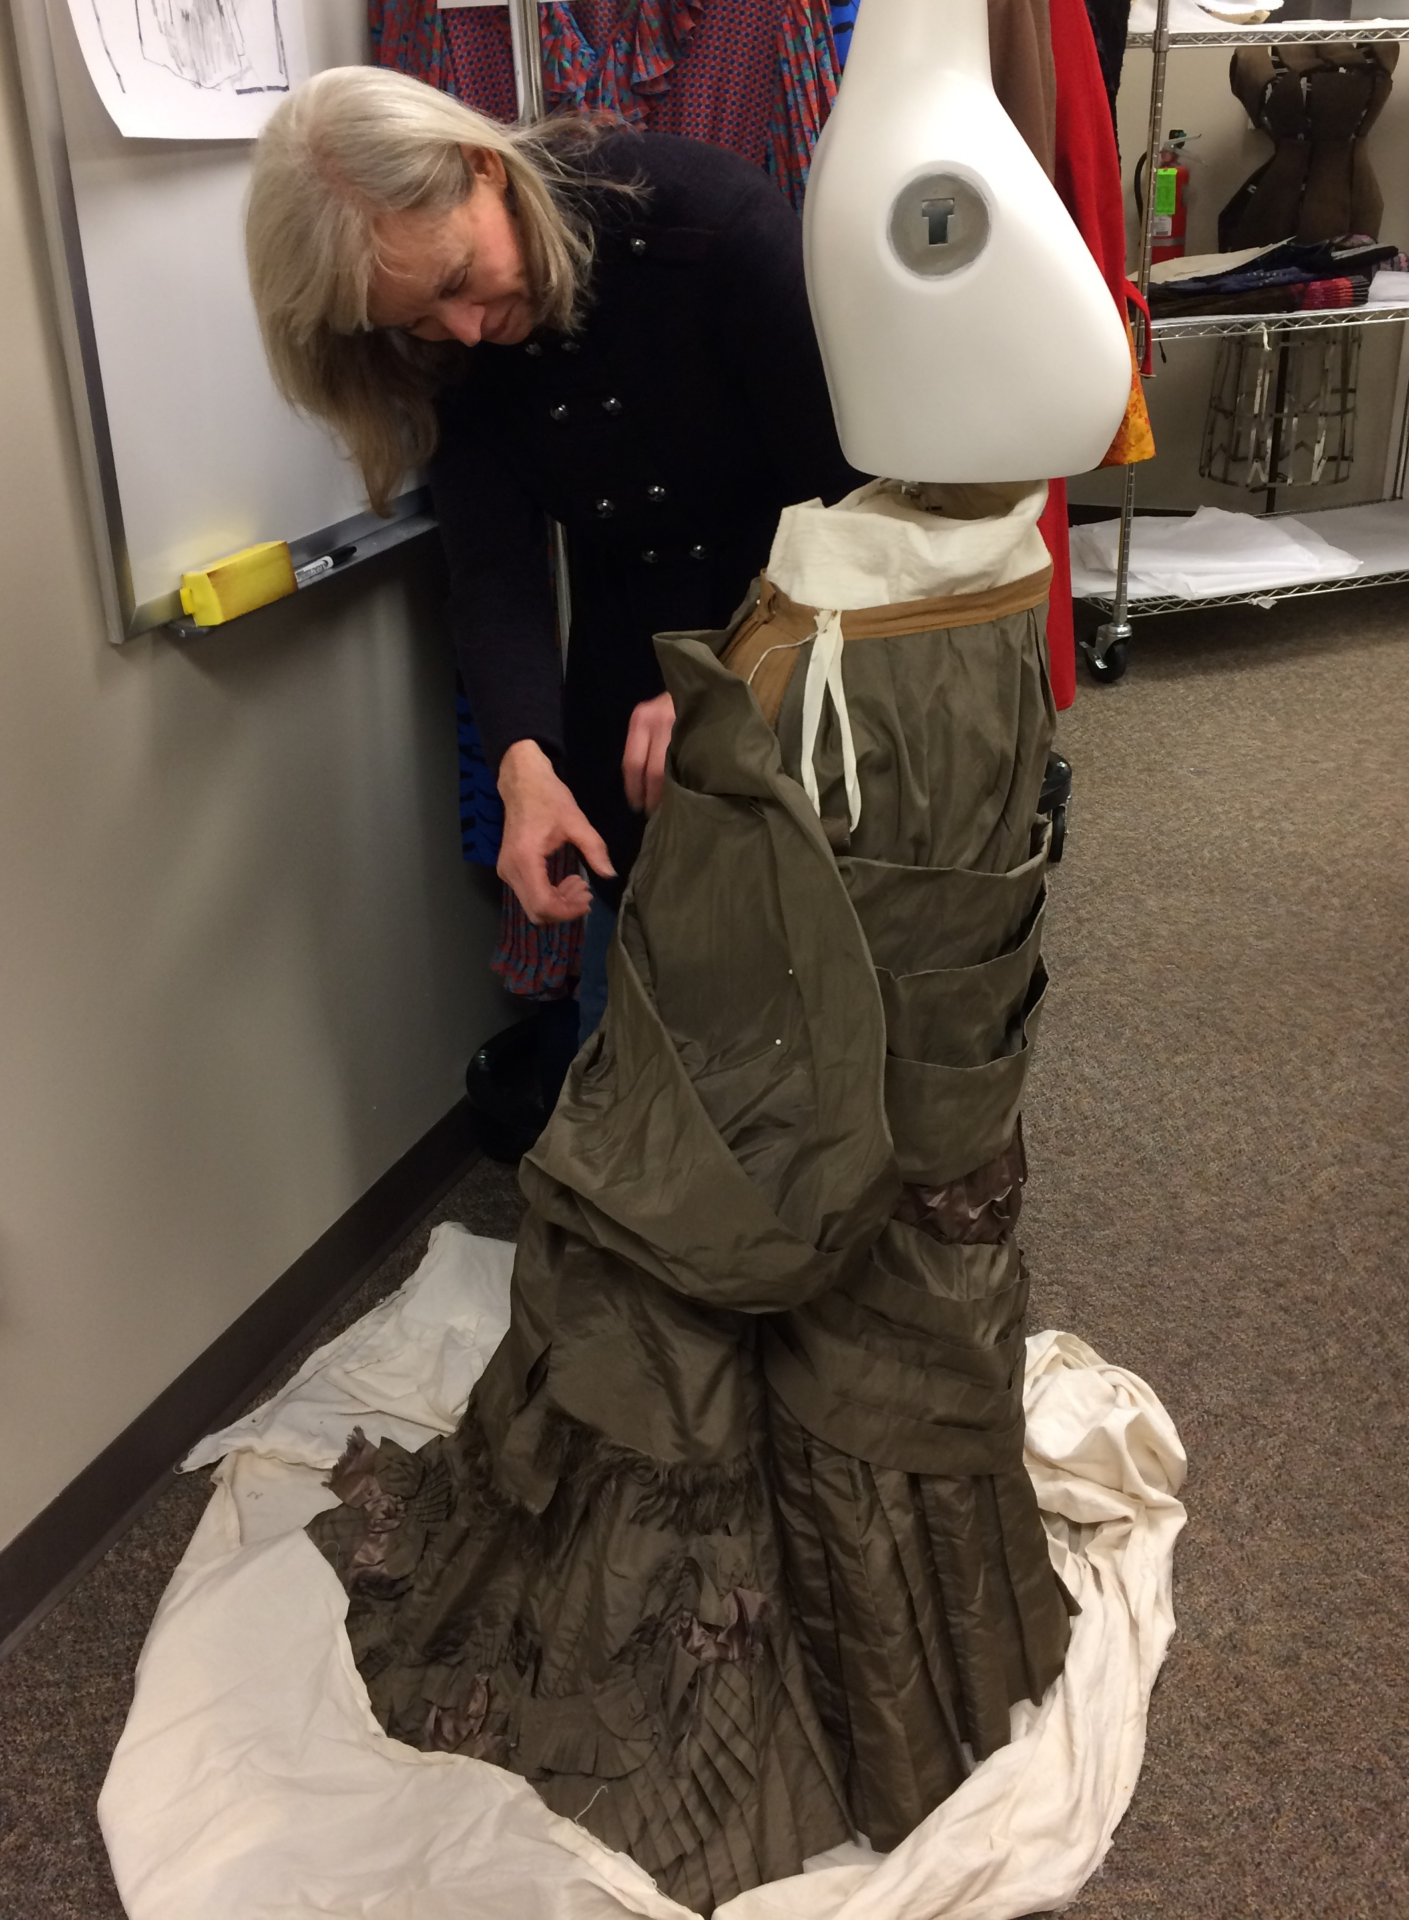
Biggers applied her talents on two examples of bridal apparel: a two-piece wedding dress of 1890 (Avenir Museum #2011.181a&b), and a one-piece 1950s four-tiered, embroidered organza wedding dress (Avenir Museum #89.36.1a). When the 1890 gown was donated to the Avenir, the bodice had already been altered several decades earlier, so the extant sleeves at the time of acquisition were a sheer fabric, slender set-in construction of a more recent date, not the original ‘leg-of-mutton,’ or ‘gigot,’ sleeves that were a hallmark of the 1890s. Fortunately, a wedding photograph of Mary Talbot Campbell wearing the original gown of 1890 was included with the apparel donation providing documentary evidence of the original sleeves. Even more providentially, the original ‘gigot’ sleeves had been saved and were in the bottom of the same pillow case as the donated wedding dress!
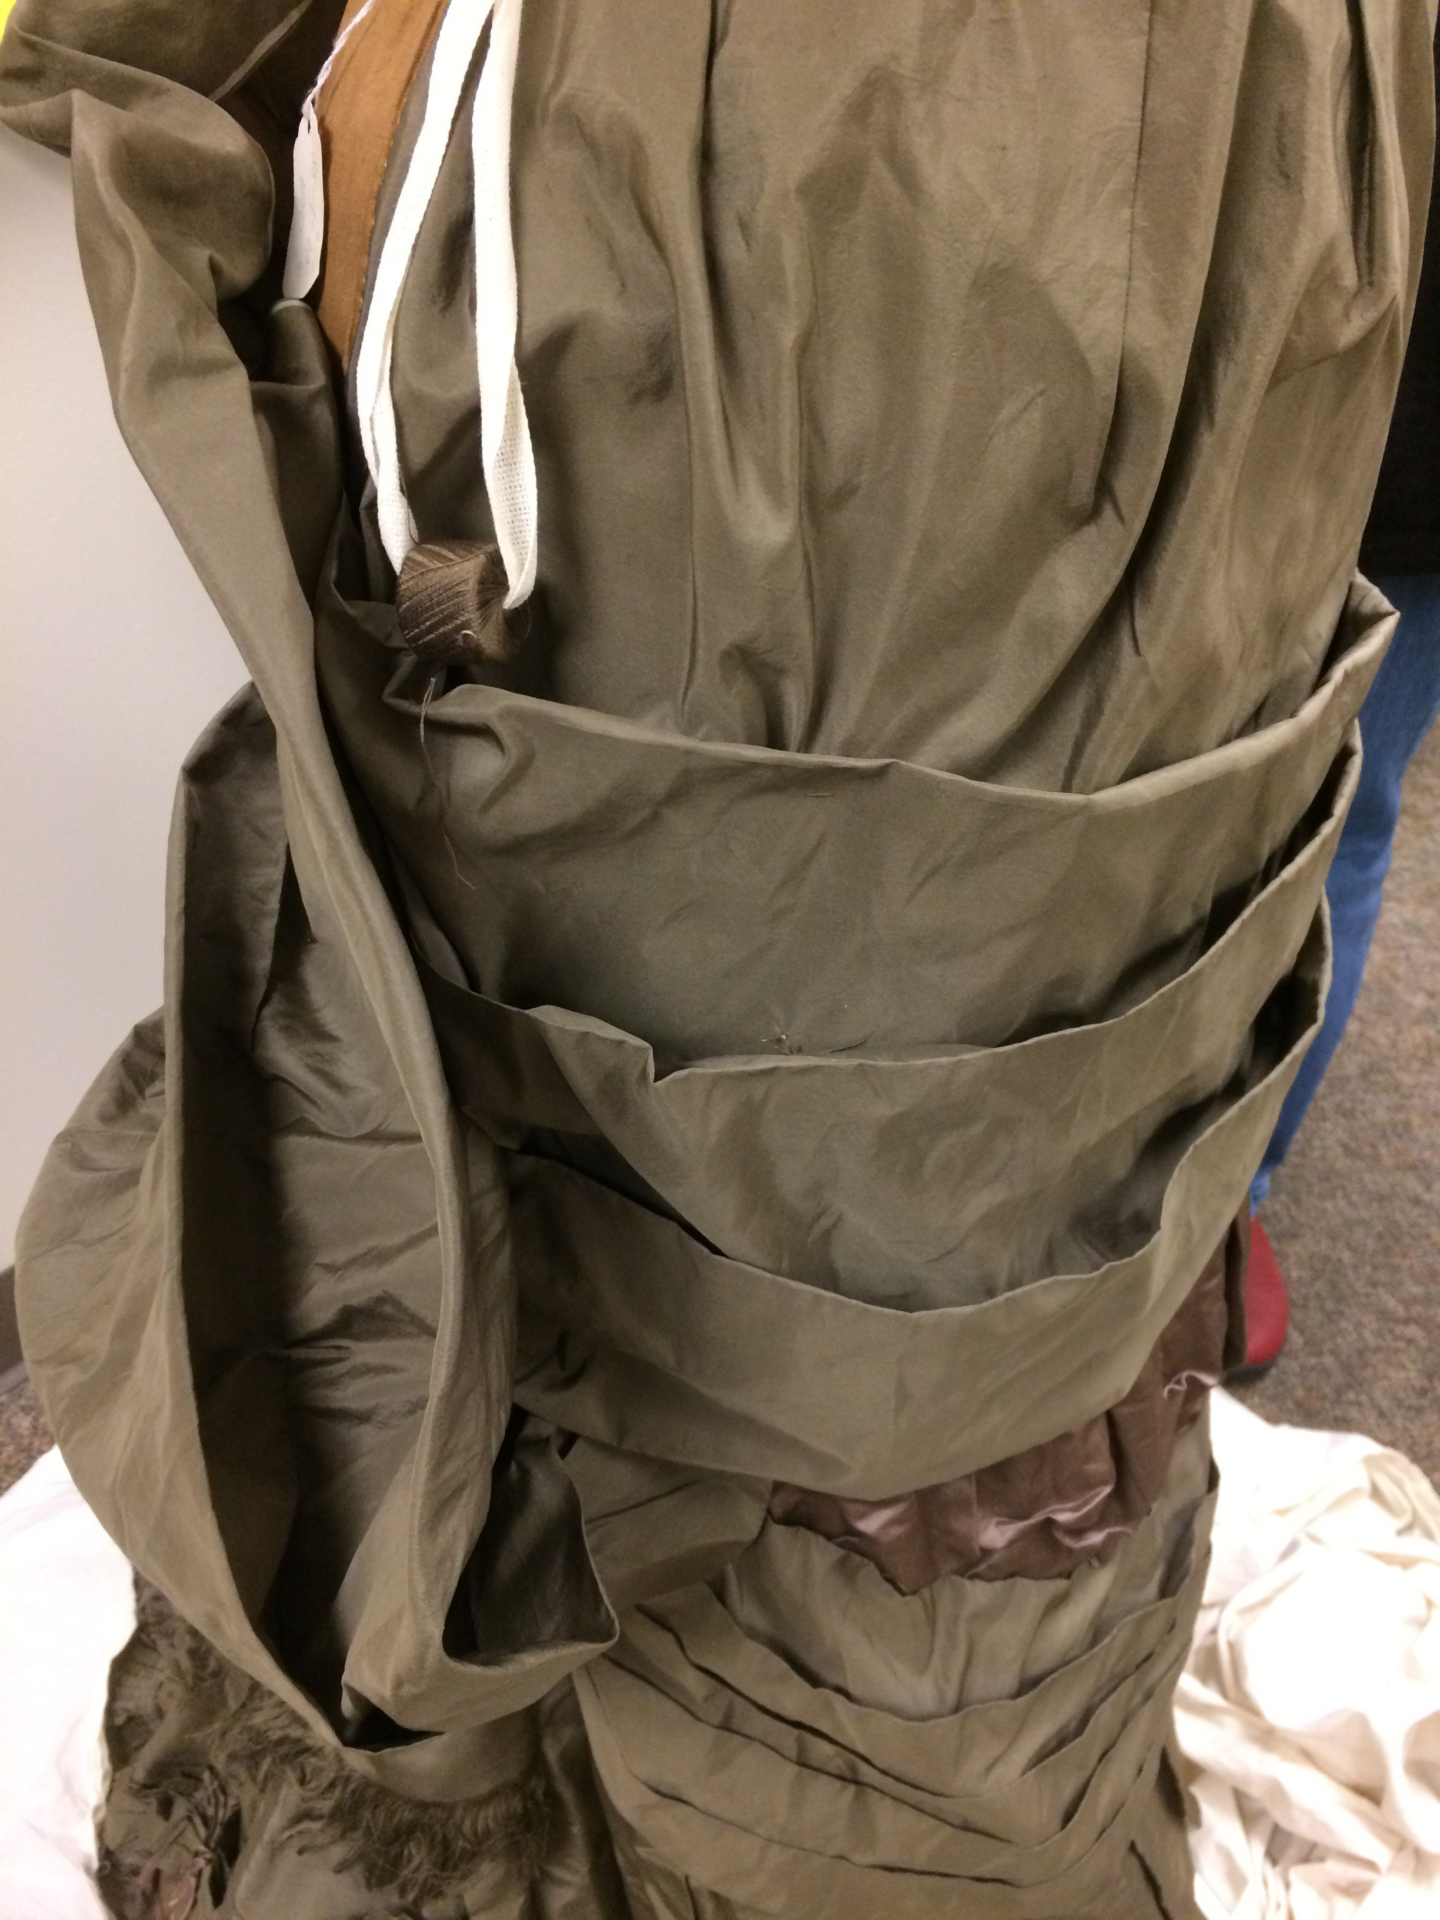
Biggers describes the adventure of removing the extant sleeves and reattaching the original mutton sleeves to the bodice by the same machine method as the original creator. “The mutton sleeves have a lot of fabric and gathering at the upper part of the sleeve. There were no markings on the sleeve or on the bodice as to how or where to attach the sleeve to the armhole of the bodice. After several pinning adjustments and hand bastings of the first sleeve, it was machine sewn into place.”
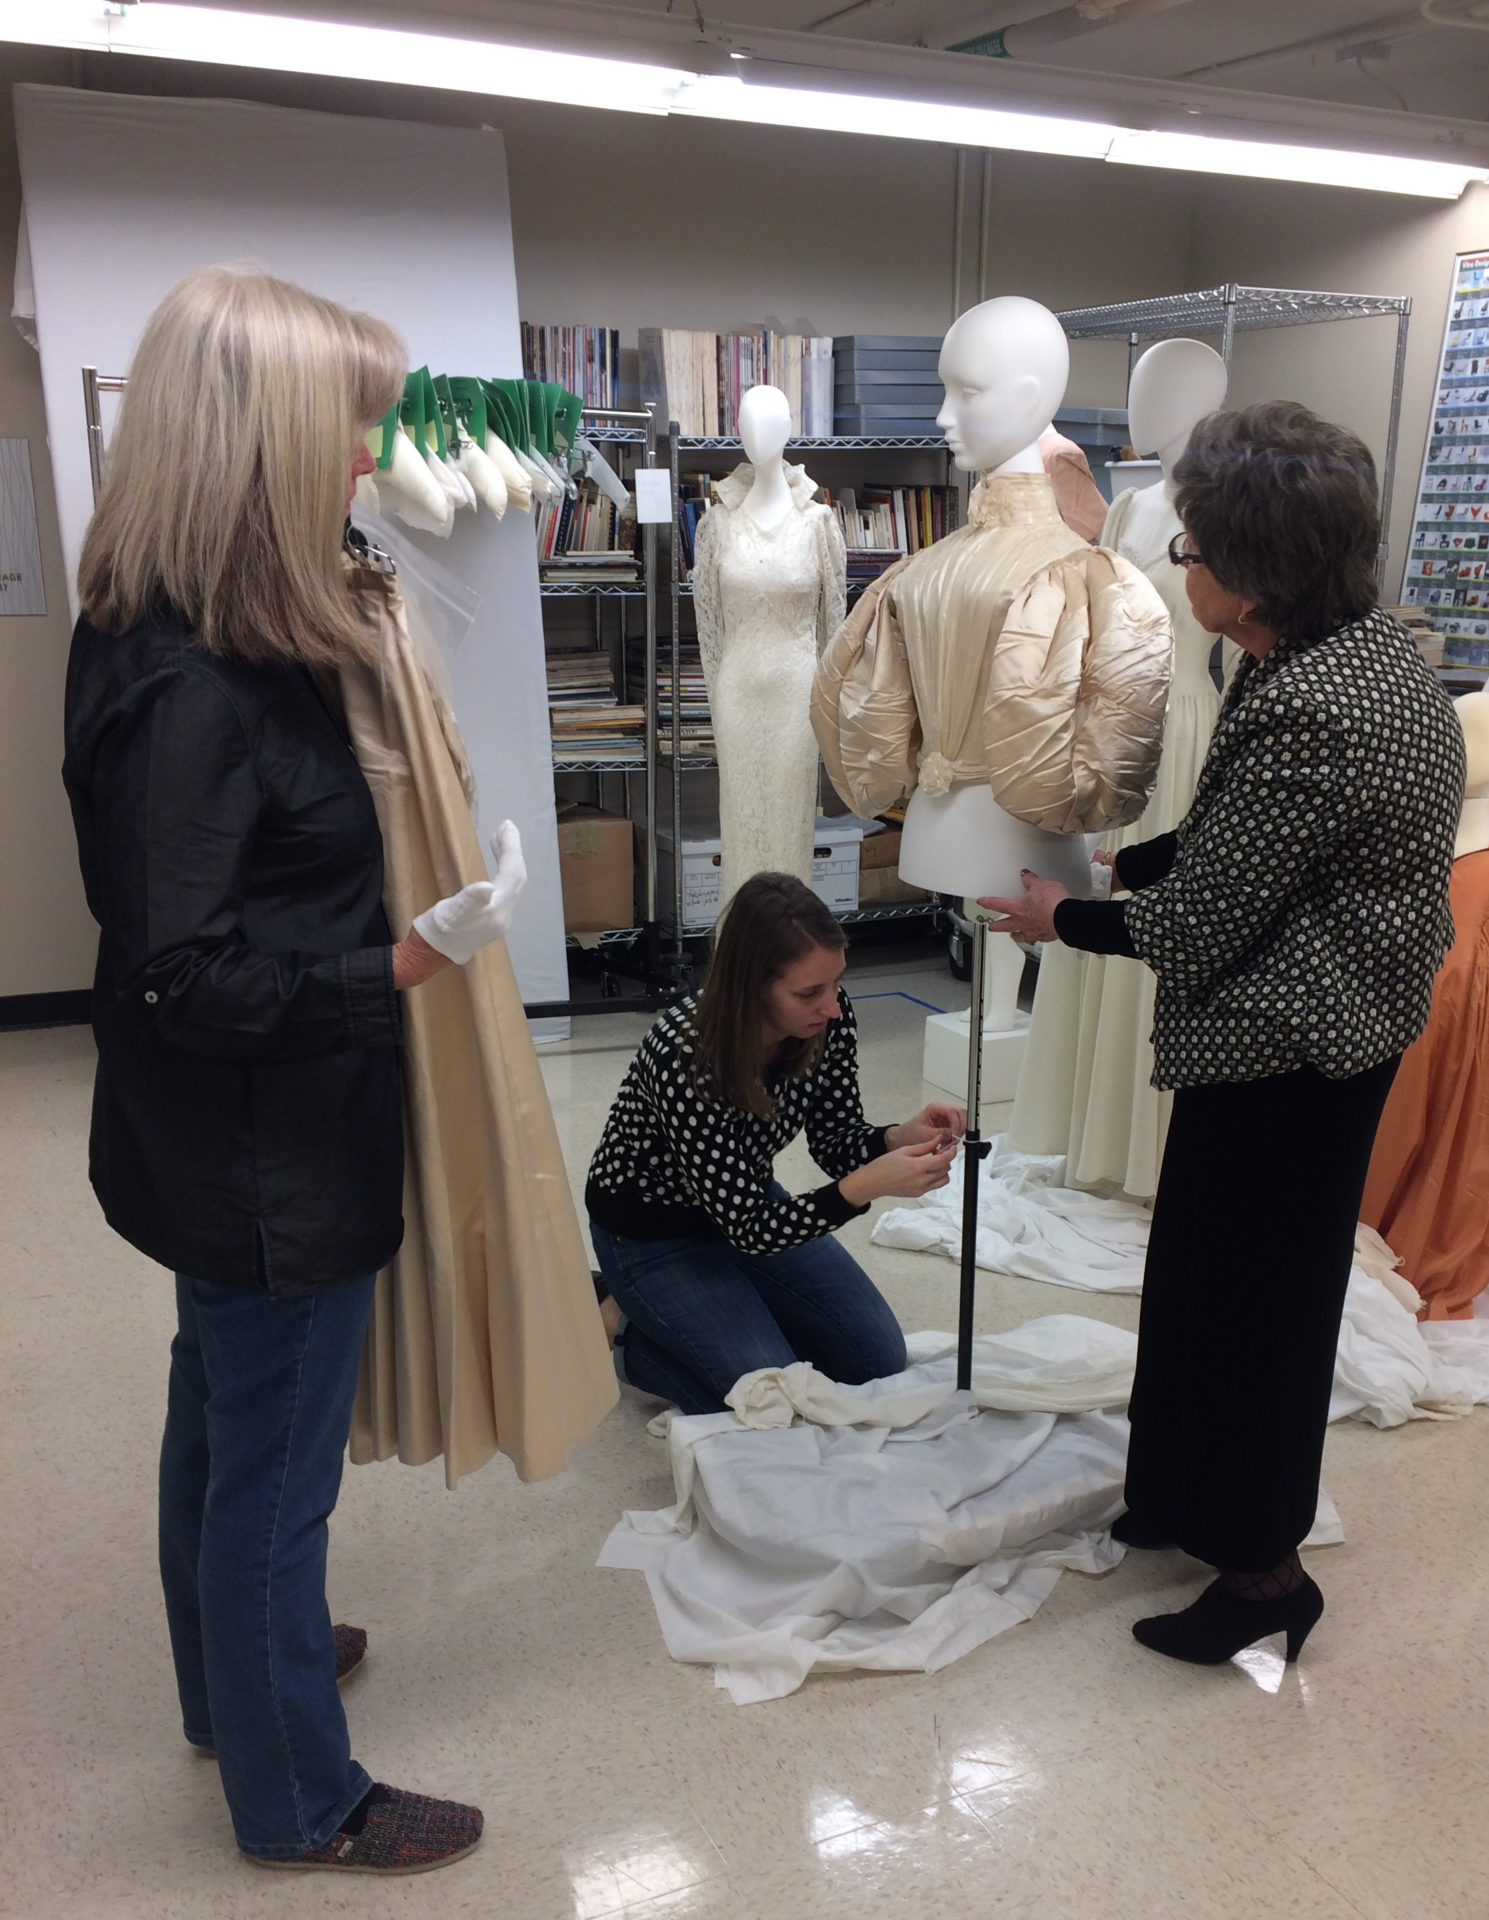
“The second sleeve should not have been a tough job after the successful reattachment of the first sleeve. However, a little voice in my head told me to put the bodice on a mannequin, to make sure that the completed bodice looked like the wedding photo since the bust line was the feature that would demand the placement of the sleeves. Good thing I did, as one of the sleeves had to be removed and adjusted. Much to my humbling, it took three attempts to get the sleeves to look like the original dress. I had to call on all of my sewing education and experiences, and had to research sewing techniques used in historic garment construction. I was fascinated by the architecture, engineering, and the level of sewing in the construction of this wedding ensemble. The inside of these of these garments is where the masterpiece resides.”
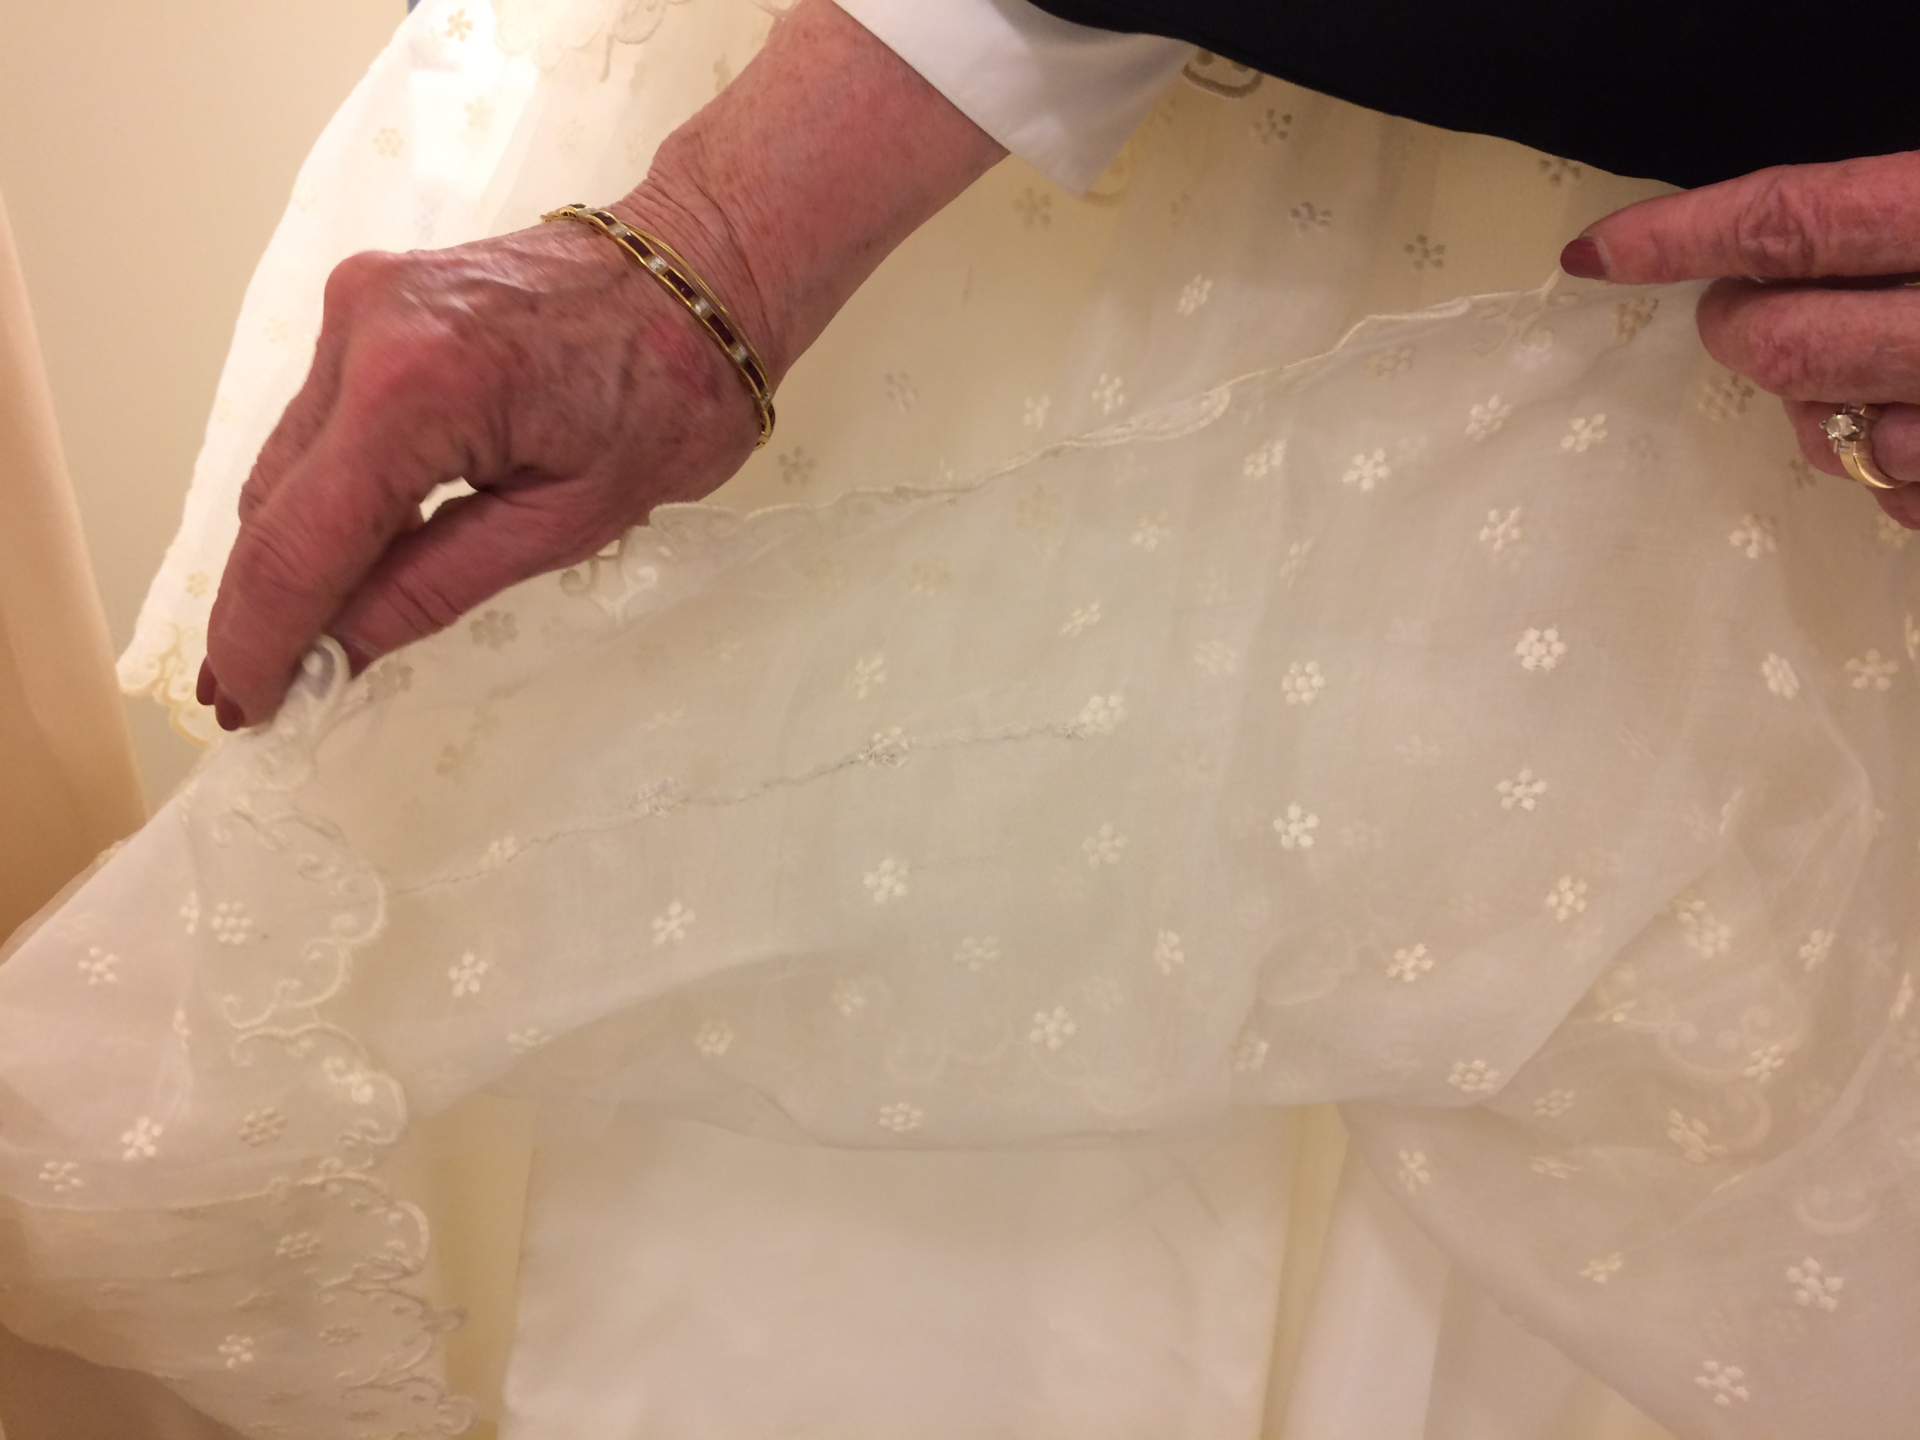
Biggers next turned her attention to the 1950s organza wedding dress which required careful repairs near the hem. “The fourth and lowest tier of the skirt on the right side of the wedding gown had several long horizontal tears in the organza fabric. These tears required stabilization so that gravity would not cause more damage in these areas while the garment is dressed on a mannequin for an exhibition, hanging in storage, or being moved for educational projects or scholarly study.”
“I used silk illusion fabric to make a separate hand gathered piece to attach to the existing fourth tier. This floating ‘under tier’ would provide the needed foundation to stabilize the torn organza fabric without it appearing patched. The next concern was the color of thread so that the hand mending stitches would disappear. I first chose a natural colored silk thread, but it appeared too dark and the thread was too heavy, so that would have defeated the goal of an invisible mend. Upon closer inspection, the organza of the dress had aged to a very light yellow in color. Thinking back to the color wheel, I chose a light blue silk (a complementary color to golden yellow) to make the hand stiches to mend the long tears. I am happy to report that the mending is barely visible!”